You’re probably doing one of two things right now. You’ve either got a new Instagram profile and need to add your website fast, or you’ve had the same bio link sitting there for months and you know it’s underperforming.
Both situations are common. The basic setup is easy. What's often overlooked is that a bio link isn’t just a field to fill in. It’s a traffic handoff. If that handoff is sloppy, people tap and leave. If it’s clean, specific, and matched to what they expected, the bio link starts doing actual work.
If you only need the quick answer to how to add a link to instagram bio, start with the first section. If you also want the version that works better for creators, bloggers, shops, and client accounts, keep going.
Table of Contents
- Adding a Link to Your Instagram Bio on Mobile and Desktop
- Tips for an Effective and Clickable Bio Link
- Instagram's Native Links vs A Dedicated Bio Link Page
- How to Create a Centralized OneURL with Bio Links Page Builder
- Common Bio Link Issues and How to Fix Them
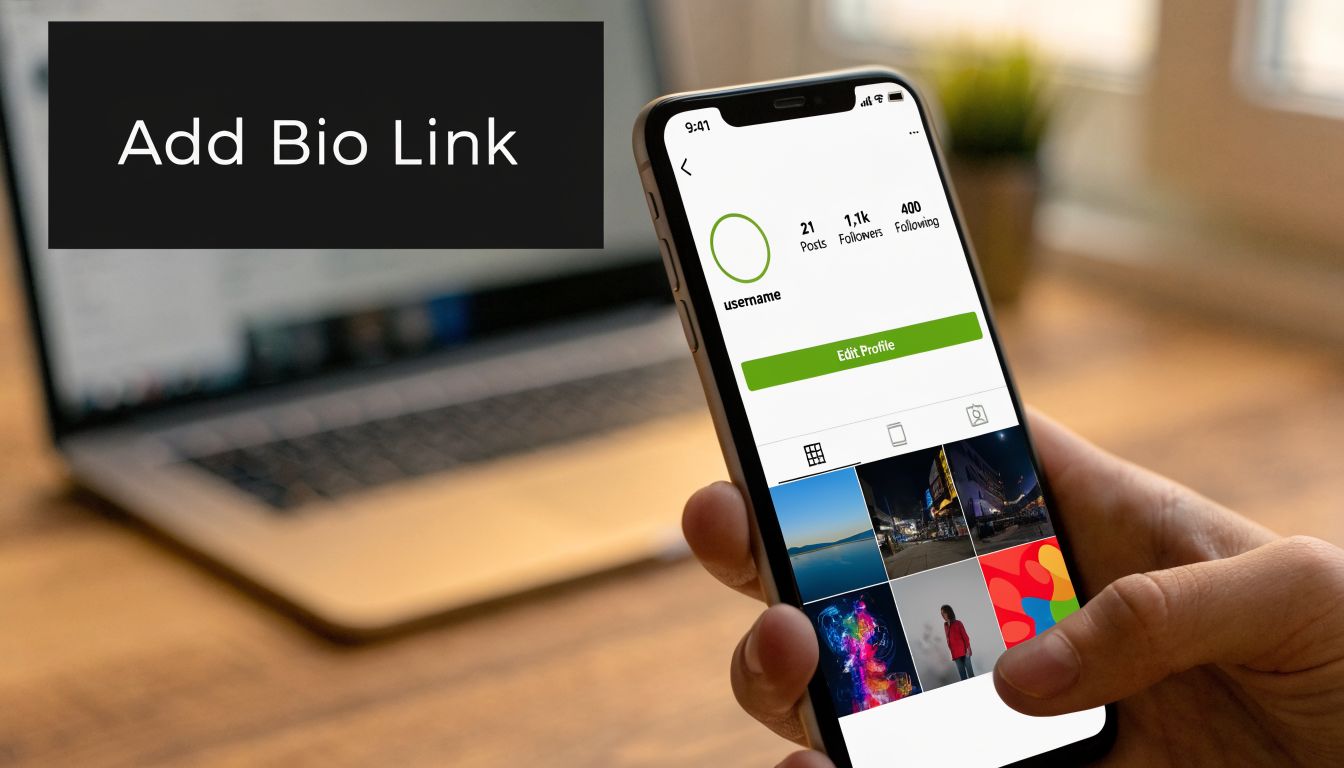
Adding a Link to Your Instagram Bio on Mobile and Desktop
If someone asks me how to add a link to instagram bio, I give them the fast version first. Open your profile, edit it, paste the URL, save. That gets the job done. But there are a couple of menu differences between mobile and desktop, and Instagram now supports more than the old single-link setup.
On your phone
This is the cleanest way to do it, and it’s the method I use when updating creator or business accounts.
- Open the Instagram app and go to your profile.
- Tap Edit Profile.
- Tap Links.
- Choose Add external link.
- Paste your URL.
- Add a short title people can understand at a glance.
- Save your changes.
If you only want one destination, you can stop there. If you want several, repeat the process and add more links. Instagram lets you arrange them so the most important one appears first.
That order matters. Your audience often won’t study your whole profile. They’ll tap the first thing that looks relevant.
Practical rule: Put the link with the clearest business value first. New product, booking page, newsletter signup, latest article. Don’t lead with a low-priority page just because it looks nice.
Using a web browser
Desktop works for profile editing, and it’s useful when you’re copying a long campaign URL from a spreadsheet or analytics doc.
- Sign in to Instagram in your browser.
- Click your profile picture and open your profile.
- Click Edit Profile.
- Find the website or links area.
- Paste your URL and save.
If your account view still shows the older website field, use that for the primary destination. If your account has the expanded links interface available, add your links there and order them with the main destination at the top.
One thing to watch for is formatting. Don’t paste plain text without the full URL structure. Use the complete address so Instagram recognizes it correctly.
What Instagram changed
For years, Instagram limited profiles to a single website field. In April 2023, Instagram introduced the ability to add up to five links directly in user bios, a change that addressed a long-standing limitation for the platform’s 1.44 billion monthly active users and over 200 million business accounts, as noted in SOCi’s overview of Instagram bio links.
That update helped casual users. It also exposed the next limitation. Five plain links are better than one, but they still don’t give you much control over presentation, storytelling, or conversion flow.
Tips for an Effective and Clickable Bio Link
Adding the URL is the easy part. Getting people to tap it is the primary job.
A good Instagram bio link setup does three things well. It tells people why to click, makes the destination feel trustworthy, and preserves tracking so you know what the traffic did.
Write the bio text like a CTA
Most bios waste space on generic lines like “check it out below” or “all links here.” That copy is too vague. People respond better when the bio tells them exactly what they’ll get.
Use direct language tied to the current offer or content:
- For bloggers: “Read the latest post”
- For service businesses: “Book an appointment”
- For creators: “Shop my gear and resources”
- For ecommerce: “Browse the new collection”
The CTA in the bio and the destination page should match. If the bio promises a guide, the first click shouldn’t land on a cluttered homepage.
Your bio is short, so every word has to pull traffic toward a specific next step.
Use a cleaner link when the destination is messy
Raw URLs often look bad in internal docs, campaign briefs, and cross-platform promotions. They also create friction when the destination changes often. A short, branded, or cleaner-looking URL is easier to manage.
This matters even more when you aren’t sending people to one page forever. Most active Instagram accounts rotate between launches, featured content, seasonal offers, and collaborations. A cleaner URL gives you flexibility because you can keep one public-facing link and update what sits behind it.
There’s also a performance angle. Bitly notes that funneling users to a customizable bio page can result in a 35% conversion lift compared to using raw URLs across a 500,000-link study, according to Bitly’s guide to using link in bio on Instagram.
Track every bio click with UTM tags
This is the step teams skip, then regret later.
If your link goes to your site without tracking parameters, your analytics may show traffic but won’t always make the Instagram bio click easy to identify. Add UTM tags to the destination URL so reporting stays clean. A simple example is ?utm_source=igbio.
Bitly’s guidance also notes that using UTM parameters like ?utm_source=igbio can recover 100% of attribution data. That’s why I treat UTM tagging as standard workflow, not optional cleanup.
A simple working checklist looks like this:
- Match the CTA: The bio promise and landing page headline should feel like the same conversation.
- Keep the URL manageable: If the destination is ugly or changes often, don’t expose the full messy path.
- Tag the traffic: Add UTM parameters before the link goes live.
- Review after every campaign change: Old promotions left in the bio waste traffic.
Instagram's Native Links vs A Dedicated Bio Link Page
Instagram’s built-in links are good enough for a lot of personal accounts. If you only need to send people to a shop, blog, or booking page, native links are fine.
But “fine” and “best setup” aren’t the same thing.
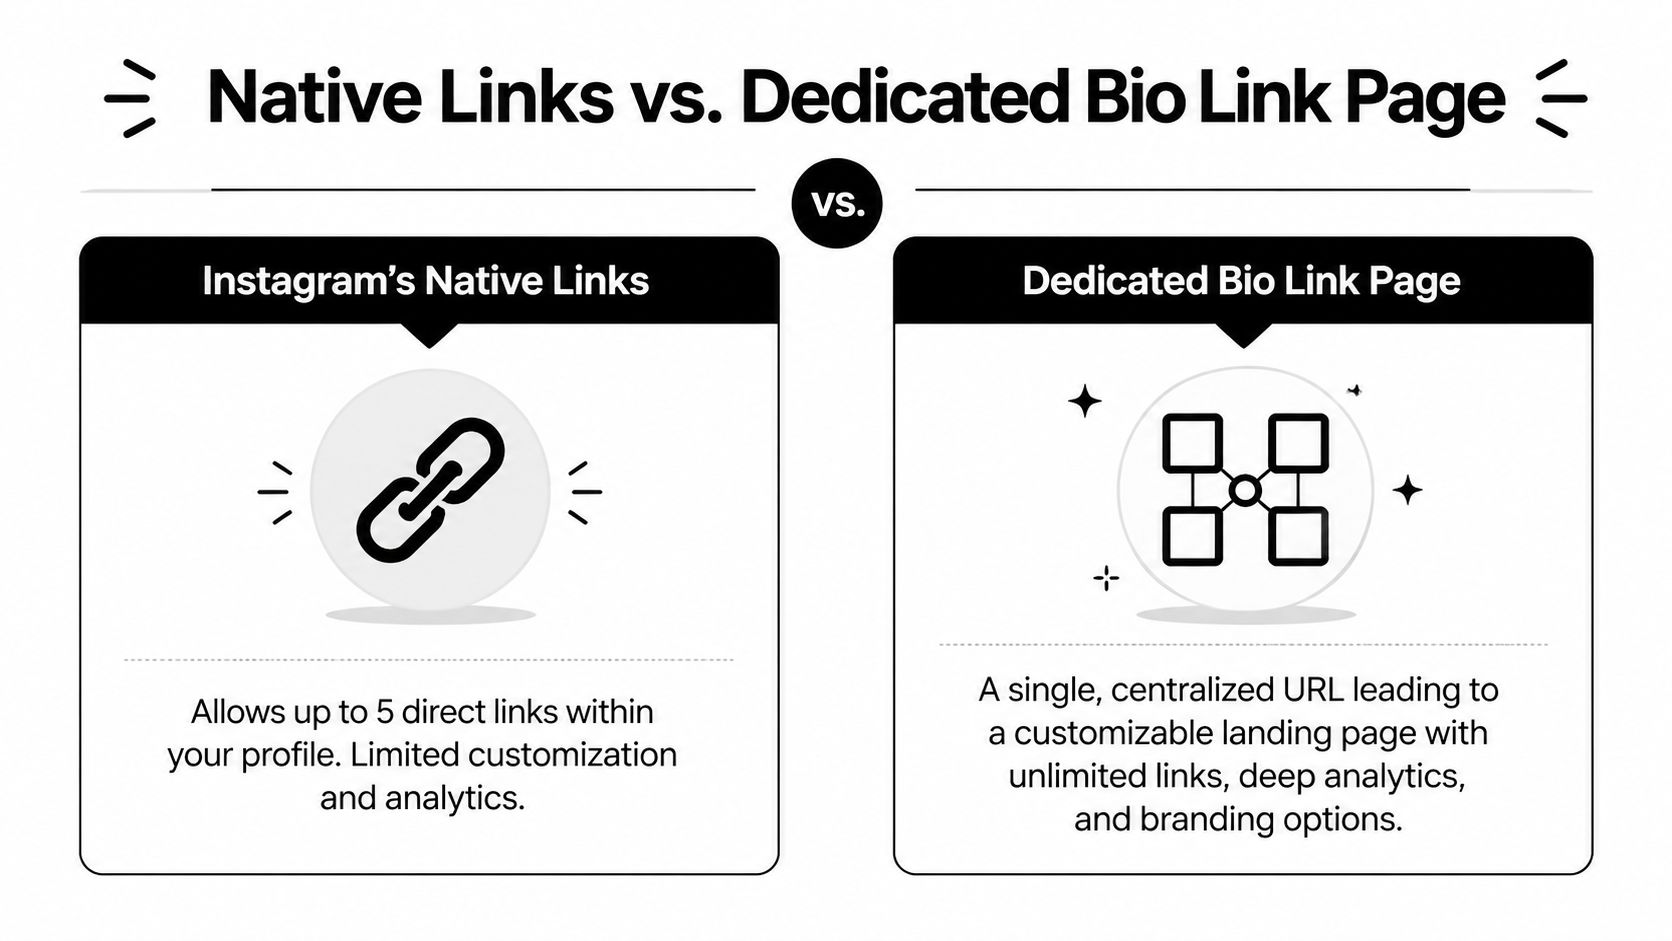
What the native option is good at
Native links win on simplicity. They’re built into Instagram, fast to update, and easy for a solo user who only needs a few destinations.
If your profile has one main objective, native links are often enough:
- A local business sending people to bookings
- A writer sending readers to the latest post
- A consultant linking to a contact page
- A shop highlighting one current collection
The problem starts when your account has more than one active goal. Most businesses do.
Where a dedicated bio page wins
A dedicated bio page gives you one clean URL in Instagram, but the page itself can carry far more context. That’s useful when you want to present links with labels, group them visually, add media, keep branding consistent, and update the experience without touching the Instagram profile every time.
Here’s the side-by-side view.
| Feature | Instagram Native Links | Bio Links Page Builder (OneURL) |
|---|---|---|
| Number of destinations | Up to five profile links | Unlimited links on one page |
| Presentation | Basic list inside Instagram | Custom layout with sections and visual hierarchy |
| Branding | Minimal customization | Branded backgrounds, blocks, and page styling |
| Content types | Standard external links | Links, videos, products, galleries, social icons, contact options |
| Flexibility | Good for simple setups | Better for campaigns, creators, stores, and service businesses |
| Updates | Edit links in Instagram | Update the landing page without constantly changing the public bio URL |
| Analytics depth | Limited inside native setup | Better tracking and page-level organization |
If your Instagram account supports a business, creator brand, newsletter, shop, podcast, or client pipeline, a dedicated bio page is usually the more professional setup.
The trade-off is maintenance versus control. Native links take less effort upfront. A dedicated page takes a bit more setup, but it gives you a cleaner system once your profile has multiple priorities.
How to Create a Centralized OneURL with Bio Links Page Builder
A common Instagram workflow problem shows up fast. The bio link needs to point to this week’s promotion, last month’s video is still getting clicks, and the sales team wants a booking link added today. If you keep swapping one destination URL for another, the bio turns into a moving target. A centralized page fixes that by giving you one stable bio URL and a landing page you can reorganize without touching the Instagram profile each time.
Start by creating a page in Bio Links Page Builder. Pick a template, then customize it in the visual editor so the page reflects the actions you want Instagram visitors to take first.
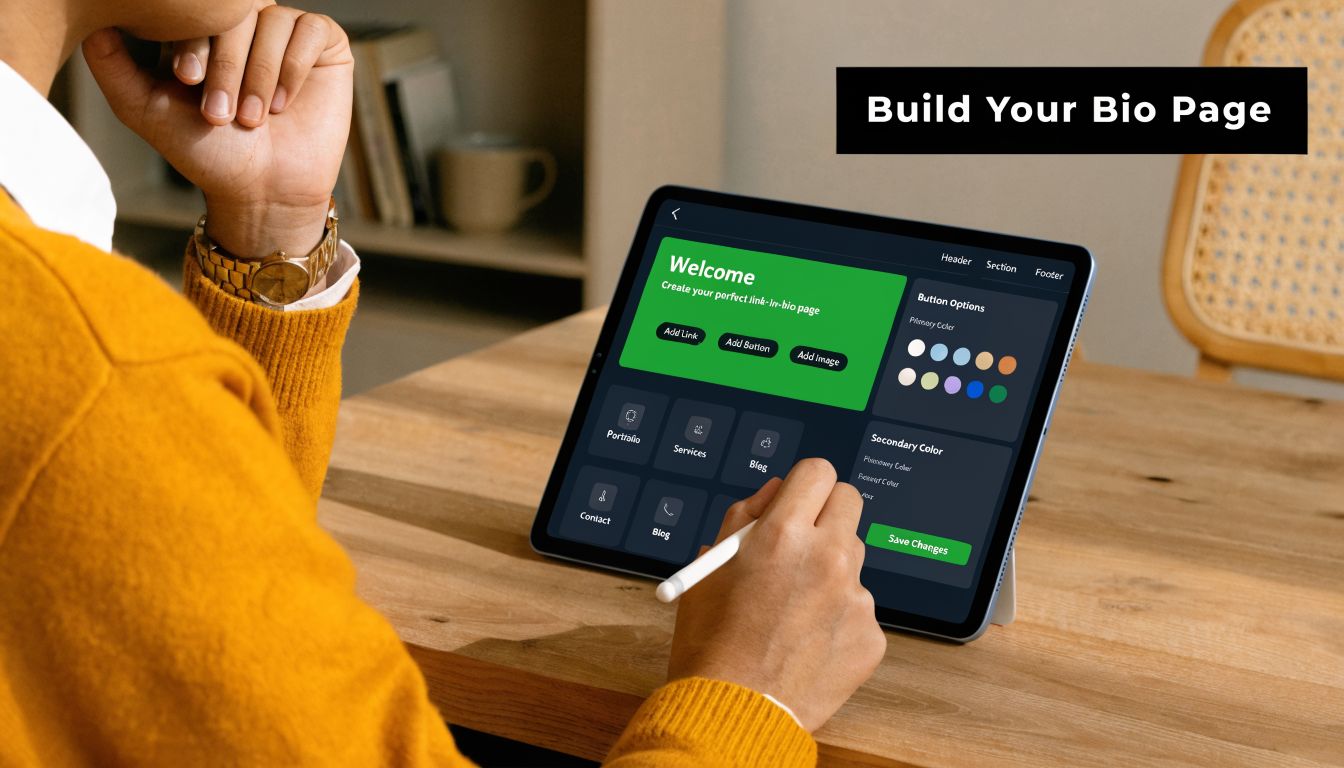
Build the page around user intent
The fastest way to weaken a bio page is to treat it like storage for every link your brand has ever published. A better setup starts with intent. What is the Instagram visitor trying to do right now?
Usually that falls into a few clear actions:
- Read your latest article or newsletter
- Shop a featured product or collection
- Book a service
- Watch a featured video
- Contact you on the platform they already use
On mobile, the first screen does most of the work. Put the highest-value action first, then support it with the next most likely action. For most accounts, this order works well:
- Primary CTA
- Secondary business goal
- Supporting content
- Social and contact links
- Evergreen pages like About or FAQ
That structure keeps the page useful without making people hunt.
Add blocks that match how people browse
The main advantage of a dedicated bio page is control. Instead of sending visitors to a single page that may or may not fit their intent, you can give them a short set of clear paths.
Useful blocks usually include:
- Link buttons for articles, offers, or category pages
- A YouTube embed for a featured video
- A product section if you sell physical or digital items
- Social icons for TikTok, YouTube, WhatsApp, LinkedIn, or other channels
- Image or gallery blocks when visuals help the click decision
The visual editor uses a block-based system. This walkthrough shows how to add and arrange common elements like video and product blocks before you publish:
Copy matters here more than design teams sometimes expect. Button labels like “Click here” or “Learn more” waste space. Specific labels such as “Book a free consult,” “Shop the spring drop,” or “Watch the full tutorial” set expectations and improve click quality.
Working standard: Every button should tell the visitor what happens after the tap.
Publish it and replace your Instagram bio link
Before publishing, check the page on a phone. Confirm the first screen is clear, the buttons are easy to tap, and the main CTA does not get pushed too far down by branding or decoration.
Then publish the page, copy its URL, and place that single destination in your Instagram bio link field.
The professional setup proves its worth. The public bio URL stays the same while the page behind it changes as campaigns change. You can swap a product launch for a waitlist, replace an expired promotion with a newsletter signup, or move a seasonal offer down the page without editing the Instagram profile itself.
That matters even more on shared accounts. If several people manage content, paid campaigns, and customer responses, it is safer to update one controlled bio page than to keep changing the public-facing Instagram link every few days.
Common Bio Link Issues and How to Fix Them
Most Instagram bio link problems aren’t complicated. They usually come down to formatting, URL quality, or missing tracking.
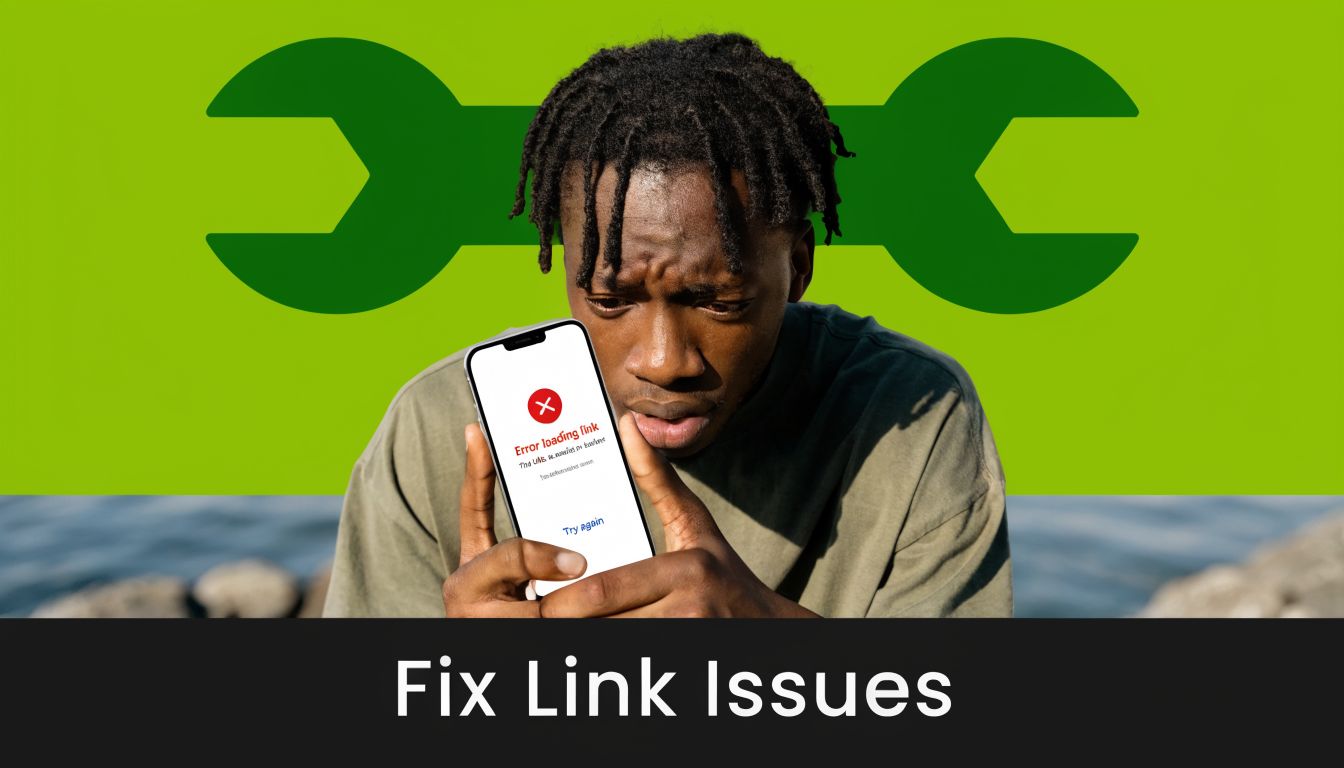
The link isn’t clickable
If the link appears as plain text or doesn’t behave correctly, check where you added it. The URL needs to go into Instagram’s dedicated website or links field, not just the bio text. Also make sure you pasted the full address and saved the profile.
If you’re using a destination copied from another tool, test it outside Instagram first. Some links fail because the landing page itself is broken, not because Instagram rejected it.
Instagram flags or rejects the URL
This usually happens with low-trust links, messy redirects, or destinations that feel spammy. A clean HTTPS URL is the safest option. If you’re using a shortened or redirected link, test whether it passes through too many hops before reaching the final page.
When a link gets blocked, swap in the final destination URL first. If that works, the issue is probably the redirect path or the shortening setup.
Clicks aren’t showing in analytics
This is almost always a tracking problem, not a traffic problem. If the destination URL doesn’t include UTM parameters, reporting gets fuzzy fast. Add a tagged URL for the bio link and keep naming consistent across campaigns.
Also check the landing page experience on mobile. Instagram visitors are impatient. If the page loads awkwardly, the click happened but the session may not become a useful visit.
If you want one clean Instagram bio URL that can hold your articles, videos, products, social profiles, and contact options in one place, Bio Links Page Builder is the practical upgrade. It’s free to use, easy to customize, and gives you a mobile-first page that looks more professional than a stack of plain links.
Built with Outrank tool