A phone camera roll fills up fast with transformation shots. A significant challenge starts later, when you need to present that kitchen remodel, skin treatment result, fitness milestone, or product cleanup in a format people can understand in a second and trust on a closer look.
A good before and after photo maker does more than place two images side by side. It helps you keep framing consistent, add labels that do not feel sloppy, choose the right crop for each platform, and export a file that still looks sharp after upload. The format you choose directly impacts the result. A static layout usually works better for feeds, pinned posts, and link in bio galleries. An interactive slider is stronger when fine detail is the selling point, like grout lines in a renovation, skin texture in a beauty service, or editing changes in product photography.
Consistency is what makes these visuals believable. If the before shot is darker, closer, or taken from a different angle, the result looks exaggerated even when the work is real. I have seen strong results lose credibility because the photos were not matched well enough.
The tools in this guide are grouped around that end goal. Static makers for fast posting. Slider tools for detail-first reveals. Both can work, but they serve different jobs once the image leaves the editor and starts doing actual work on Instagram, a portfolio page, or a bio link hub. If your content plan also includes motion, this companion guide on adding a watermark to video is useful for protecting client work and keeping branded proof pieces consistent.
Table of Contents
- 1. Adobe Express
- 2. Canva
- 3. Kapwing
- 4. Knight Lab Juxtapose
- 5. Fotor Side-by-Side Photo Maker
- 6. BeFunky Collage Maker
- 7. Picsart Templates Before and After
- 8. Pixelcut Before and After Collage Generator
- 9. PhotoJoiner Collage Maker
- 10. ImgSlider
- Top 10 Before & After Photo Makers Comparison
- From Creation to Conversion Using Your Before After Photos
1. Adobe Express
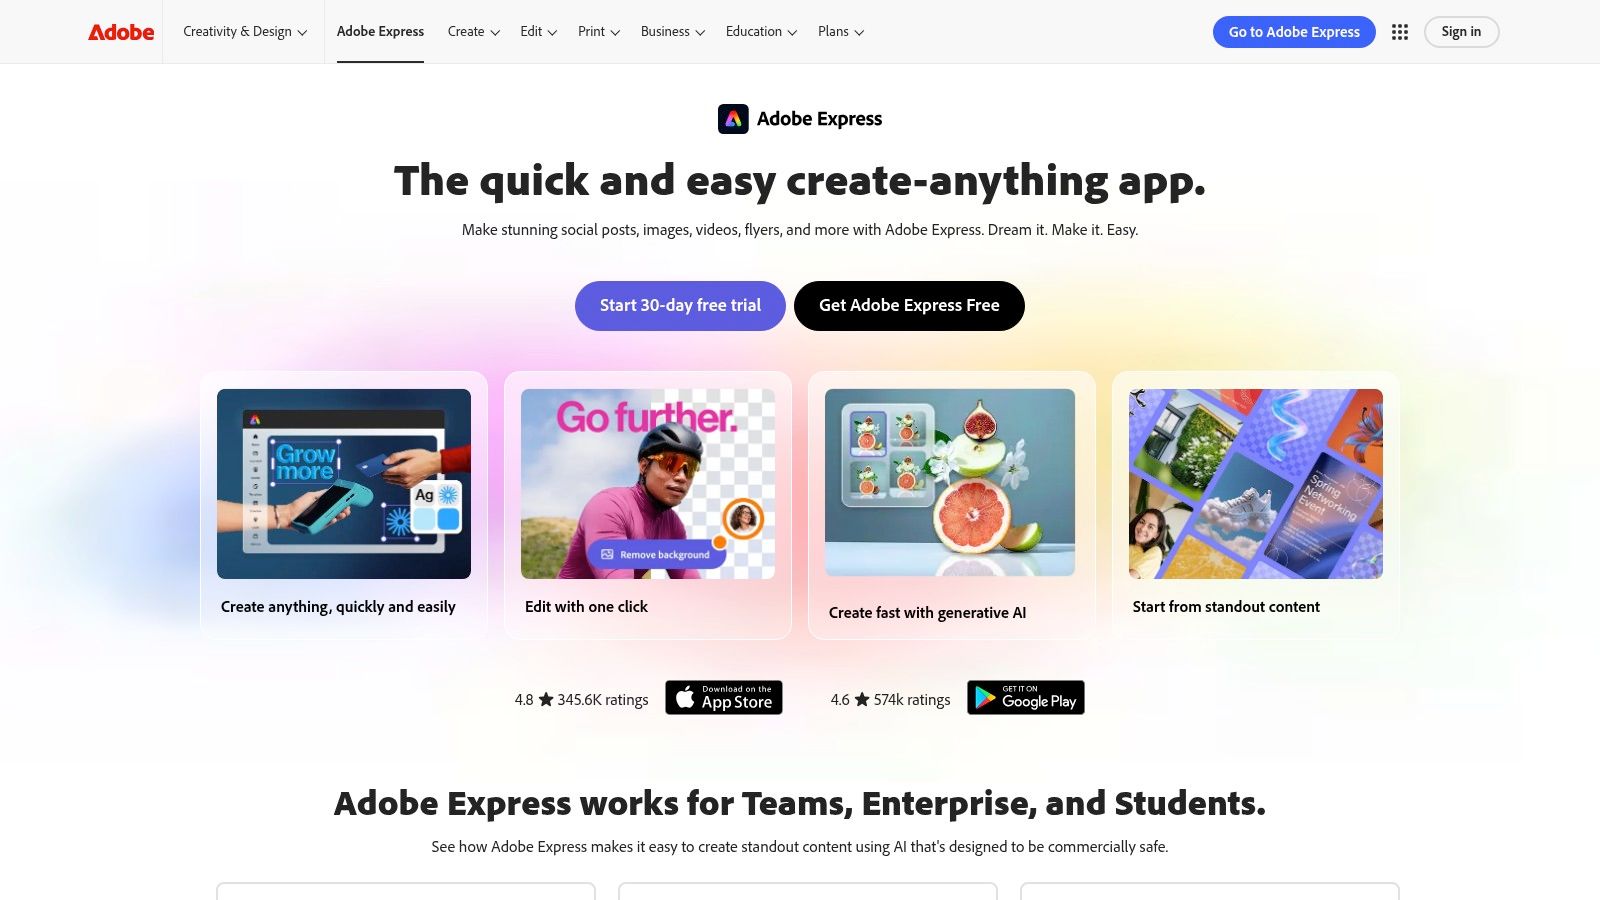
Adobe Express is one of the easiest places to make a polished static before and after graphic without opening a full design suite. It's browser-based, it's fast, and it gives non-designers enough control to make something branded without getting lost in settings. For Instagram posts, Stories, service promos, and quick portfolio updates, that speed matters.
The biggest advantage is how quickly you can prep mismatched photos. Crop, resize, remove a background if needed, then drop both images into a side-by-side layout and add simple labels. This effectively handles the most common use case.
Why it works best
Adobe Express is strongest when your real destination isn't the image itself, but the page you'll send people to next. You can export social-ready graphics quickly, then feature them on a bio page, landing page, or client proof gallery.
- Best for branded posts: Add captions, logo marks, and consistent colors without much setup.
- Best for light editing first: Quick actions help fix awkward source images before you pair them.
- Less ideal for deep customization: Template flows can shift when Adobe updates the editor.
Practical rule: If you're posting beauty, fitness, or treatment results, standardize your labels. Use the same font, the same “Before” and “After” position, and the same border treatment every time.
One small workflow note that saves time: finish your image first, then think about overlays and protection. If you also publish motion versions later, Adobe's exports pair well with simple branding steps like learning how to add a watermark to video. Some premium assets sit behind a paid plan, so it's not always the cheapest route, but it feels reliable.
2. Canva
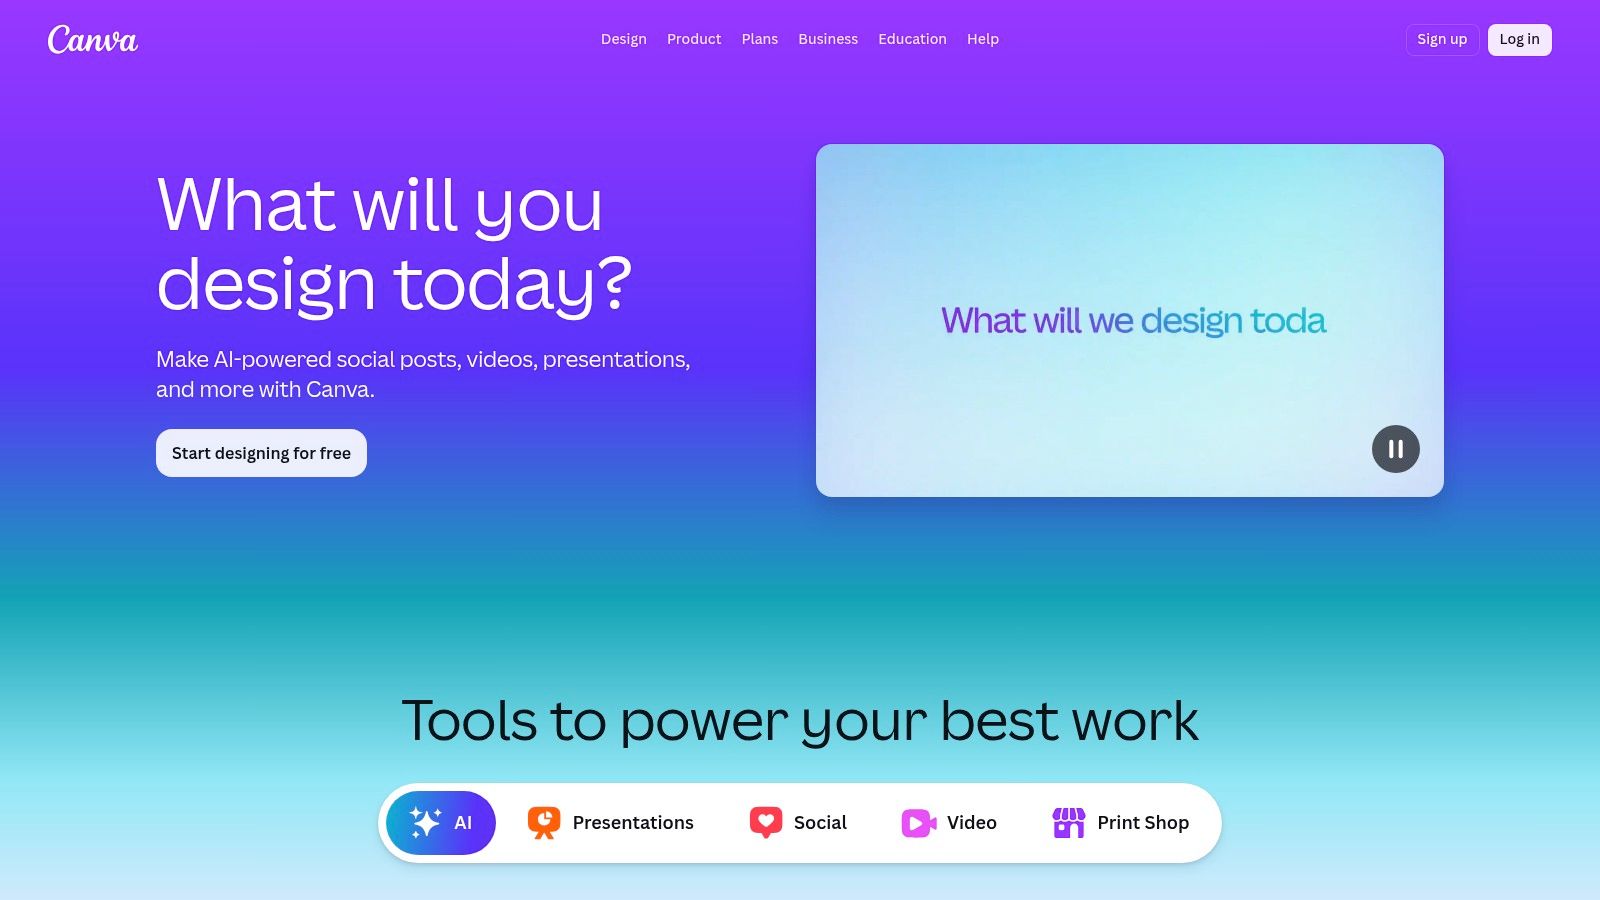
Canva is the default recommendation for a lot of creators, and in this category that makes sense. If you need a static before and after photo maker with lots of layouts, frames, and easy brand controls, Canva gets the job done fast. It's especially good when you're making a series, not a one-off.
That matters because audience intent is broad. One industry estimate says roughly 5 million professional photographers and graphic designers use photo editing software globally, while more than 100 million casual users edit photos for personal or social media use, and the individual-user segment holds over 58% of the market according to Market.us. Canva fits that mixed audience well because it's easy enough for solo creators and organized enough for teams.
Best fit
Canva shines when repeatability matters more than originality. If you run weekly fitness progress posts, salon transformations, or home staging updates, you can build one format and keep reusing it.
- Strong for team workflows: Shared brand kits keep client work visually consistent.
- Strong for multi-format posting: You can adapt a square post into a Story or pin without rebuilding from scratch.
- Weak for interaction: Canva's before and after outputs are static. There's no native slider experience.
I like Canva best when the visual proof needs to look clean and familiar, not experimental. If the audience is scrolling fast, that's usually the right call. For promotion after export, it also fits well into broader Instagram marketing workflows where consistent creative matters more than fancy presentation.
3. Kapwing
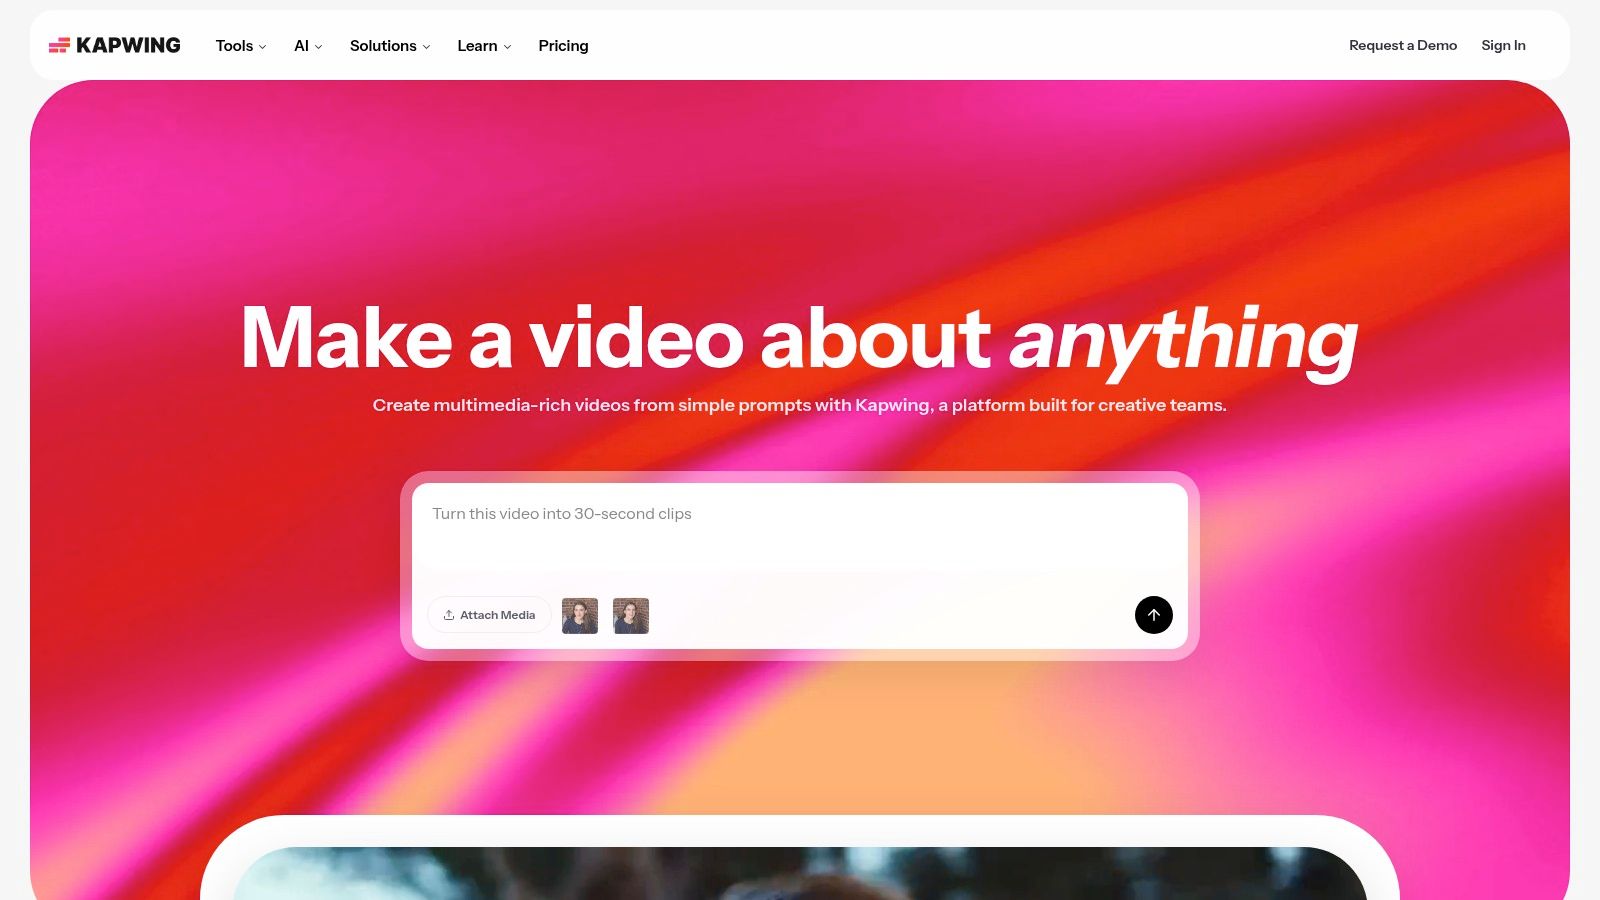
Kapwing sits in a useful middle ground. It can make a standard side-by-side image, but it also gives you a fast path to motion. If your before and after starts as a post and then becomes a Reel, TikTok, or short ad, Kapwing is usually faster than bouncing between separate tools.
That's the main reason to use it. Static comparisons are easy almost everywhere. Turning them into something watchable without a heavy video editor is where Kapwing helps.
Where Kapwing pulls ahead
Text overlays, arrows, callouts, and quick vertical video formatting make Kapwing practical for service businesses that need context. A contractor can label “old flooring” and “new install.” A skin clinic can point to treatment areas. A creator can turn a two-image comparison into a short clip with movement.
Don't animate everything. A slow pan or simple reveal works. Flashy transitions usually make before and after proof feel less credible.
A few trade-offs matter. Free exports can be limited, and some outputs may include watermarks unless you're on a paid plan. But for occasional campaign work, it's one of the better “good enough immediately” tools on this list.
It also makes sense if your traffic comes from short-form platforms first. The editor maps well to the kind of vertical assets people use in TikTok video creation, especially when you want the same comparison to live as both a feed asset and a video snippet.
4. Knight Lab Juxtapose
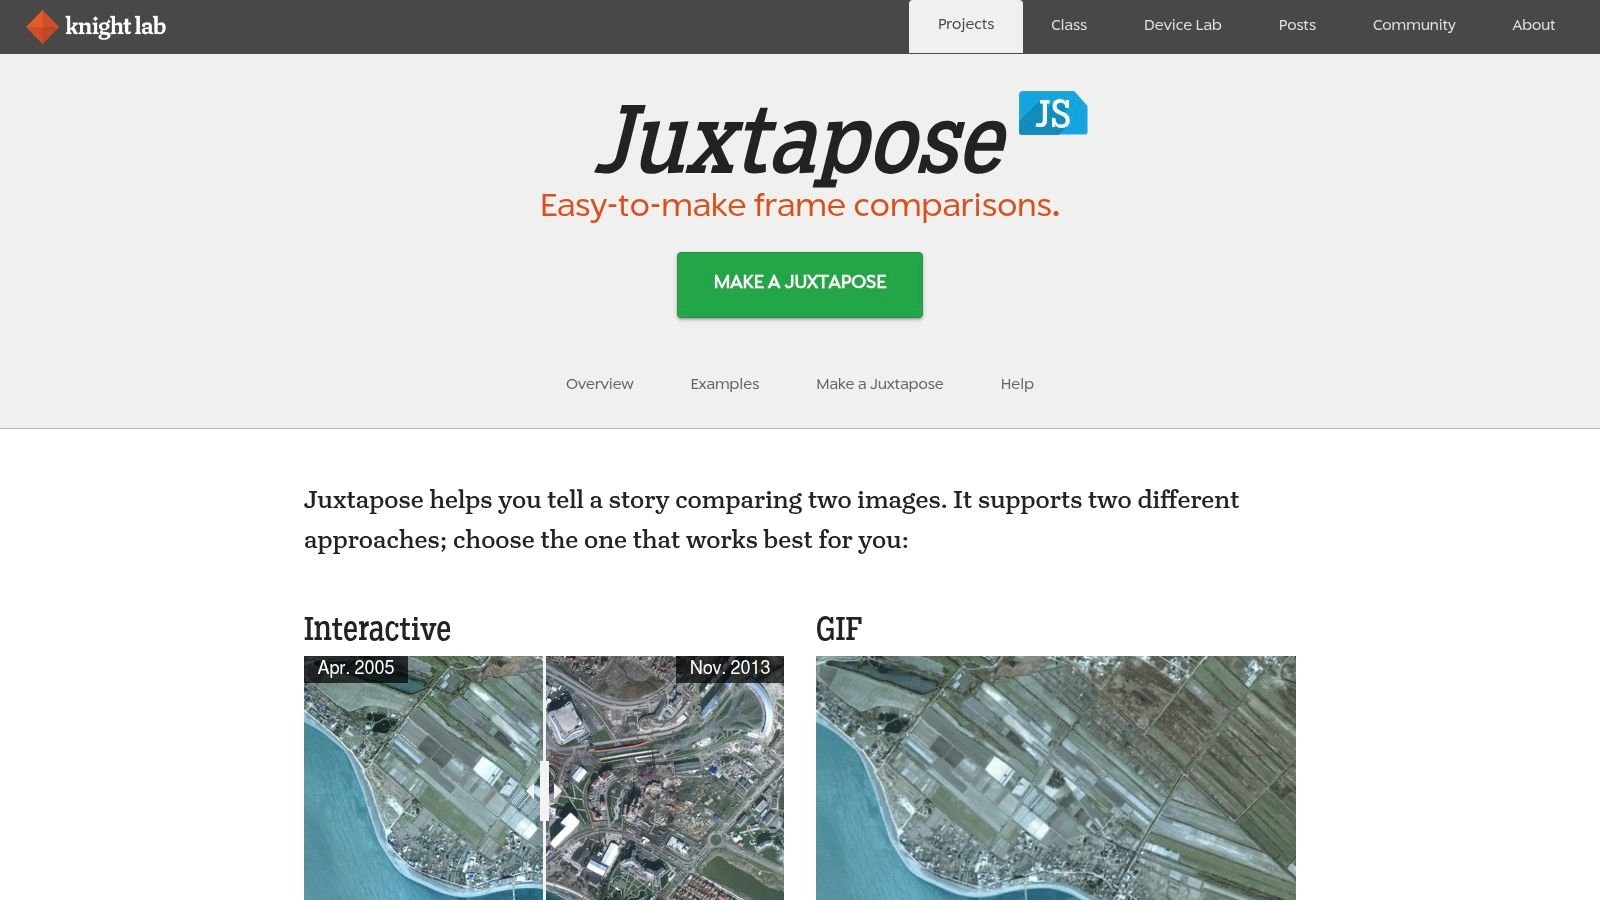
Knight Lab Juxtapose isn't a collage maker. It's a slider. That changes the job completely.
If you want people to inspect a retouch, a renovation, an outdoor area cleanup, or a product photo improvement, a draggable reveal is often better than a side-by-side. It lets the viewer compare the exact same area instead of mentally jumping between two frames. For website portfolios and landing pages, this format still feels more modern than a plain two-up image.
When to use a slider instead of a collage
Juxtapose is strongest when details matter. Paint correction, staging work, skin edits, room remodels, and photo restoration are all easier to appreciate with direct overlap.
The setup is simple. Upload two images, generate the embed, and place it on a page. The downside is also obvious. You need a page that can host the embed. This isn't the tool for someone who only needs a downloadable JPG.
Use sliders only when the framing matches closely. If the “before” and “after” were taken from different distances or angles, the slider exposes the mismatch instantly.
Most guidance around before and after visuals still leans heavily toward static collages, but newer tools are increasingly supporting sliders, split views, GIFs, and video exports, which makes format choice more important for mobile-first distribution as noted in SiteCam's write-up on before and after formats. Juxtapose is still one of the cleanest no-code options if your end goal is a link-worthy interactive reveal.
5. Fotor Side-by-Side Photo Maker
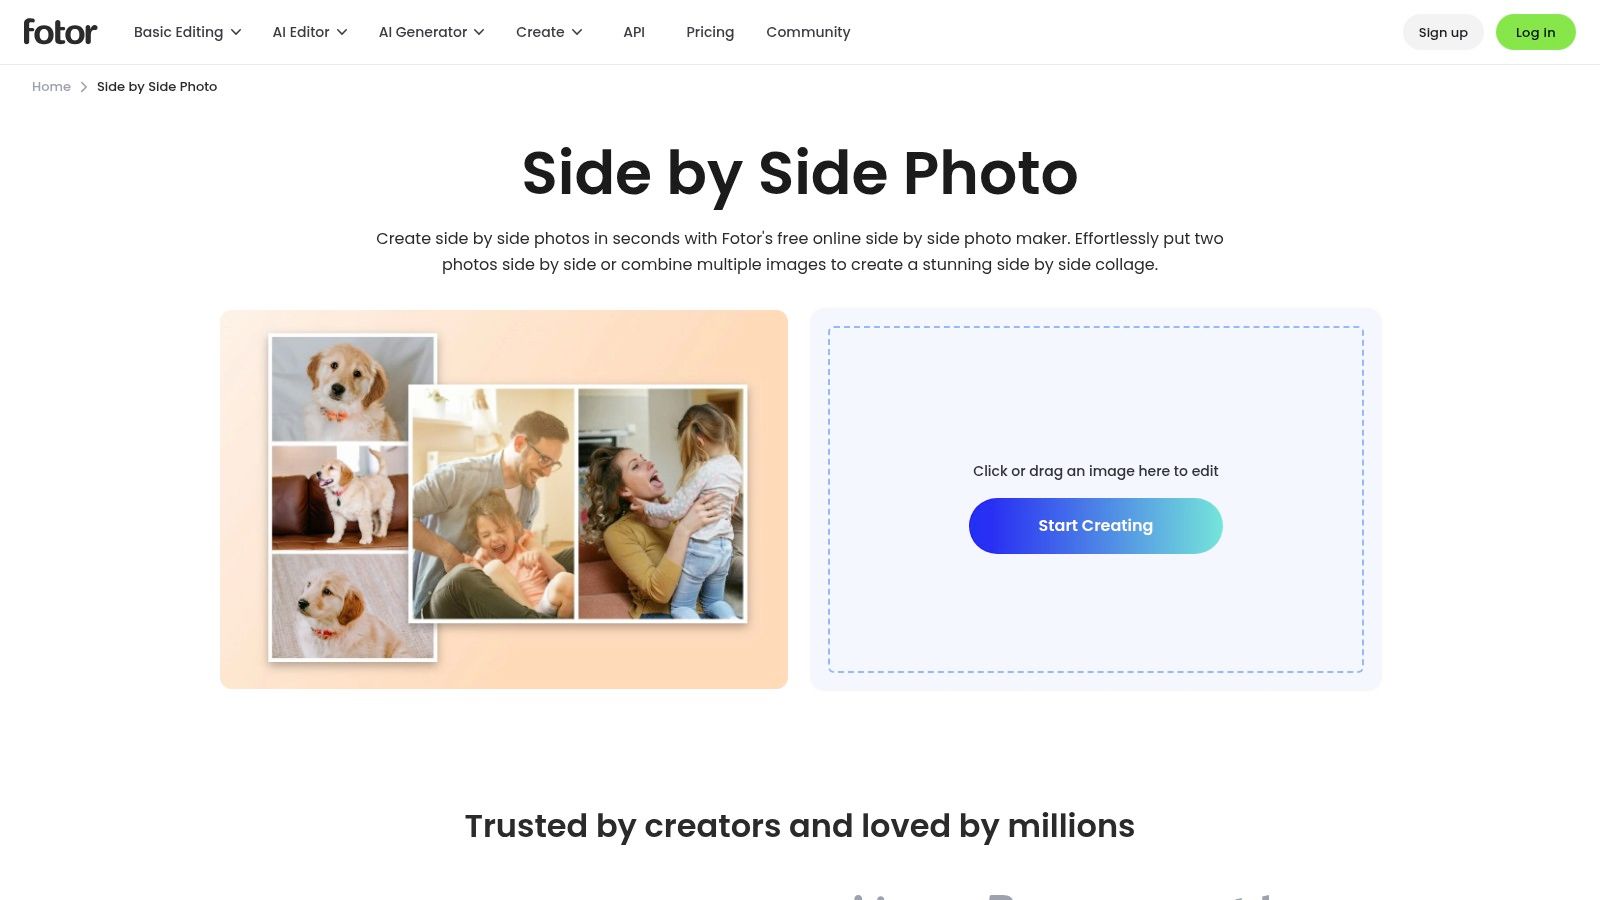
Fotor Side-by-Side Photo Maker is a practical choice when you want the classic before and after look and don't want to overthink it. It handles two-up layouts, spacing, borders, and background styling well enough that most users can get from raw photos to final export quickly.
That makes it useful for creators who need volume. Real estate touch-ups, makeover snapshots, and basic renovation updates often don't need a complex canvas. They need clarity.
What it does well
Fotor's best trait is that it stays focused. You can adjust border thickness, spacing, and background color without digging through a full publishing workflow. That sounds minor, but these details matter more than people expect. A cramped divider makes both images harder to read. Too much decorative styling makes the comparison feel less trustworthy.
Here's where I'd choose Fotor:
- Quick salon or clinic updates: Add a clean divider and simple labels, then export.
- Home project recaps: Use generous spacing if the images are visually busy.
- Basic client proofs: Keep the background neutral and let the images do the work.
Its limitation is simple. This is a static tool. If your strategy depends on interaction, embeds, or a stronger landing-page experience, Fotor won't cover that. But if all you need is a straightforward before and after photo maker that doesn't fight you, it's a good pick.
6. BeFunky Collage Maker
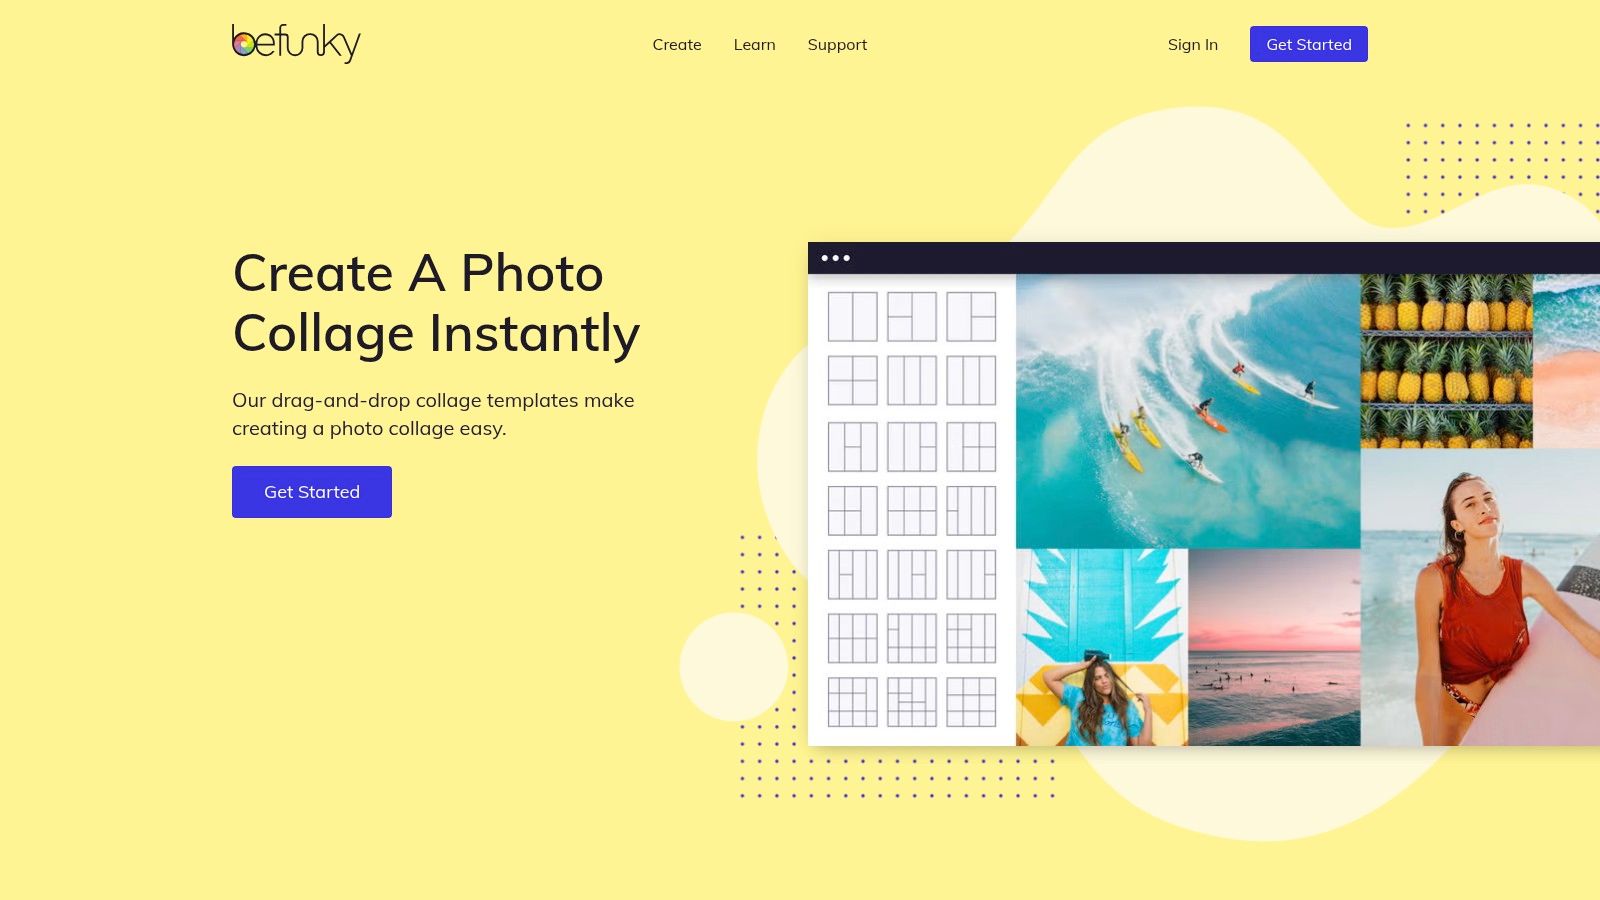
BeFunky Collage Maker is the friendly option. It doesn't have the weight of Adobe or the ecosystem of Canva, but it's approachable and fast, especially for people who just want to make attractive comparison graphics without learning a full design platform.
For that reason, it works well for coaches, solo service providers, and small local brands. You can build a repeatable visual style with labels, text accents, and shapes, then keep posting with minimal setup.
Good choice for repeatable posting
BeFunky is especially good when you want your before and after images to look slightly designed, but not overly produced. That balance matters in categories where trust matters more than polish.
The American Society of Plastic Surgeons points out that viewers should look for the same poses, angles, lighting, background, and camera when judging before and after images, and notes that surgical incisions are often visible for 1 to 2 years before fading in its guidance on evaluating before and after images. That reminder applies far beyond surgery. BeFunky makes it easy to label timing clearly and keep layouts consistent, which helps the image stay honest.
A before and after graphic should reduce doubt, not create it. If the tool tempts you to over-style the image, pull it back.
The downside is familiar. It's static only, and some assets sit behind premium access. Still, for clean repeatable comparison posts, it's a comfortable tool.
7. Picsart Templates Before and After
Picsart is for people who work from their phone first and don't want desktop software slowing them down. If you shoot, edit, caption, and publish from mobile, Picsart fits the rhythm better than most tools here.
That also makes it a strong choice for creators who want something more stylized. Templates, stickers, text treatments, and quick visual effects are all easy to apply. For social-first brands, that can be useful.
Best when your whole workflow is on phone
Picsart makes sense for fast beauty posts, creator updates, and on-the-go progress content. If you're editing in a salon chair, at the gym, or on a job site, speed beats precision a lot of the time.
A few cautions matter, though:
- Good for fast posting: You can build and export from mobile without touching a laptop.
- Good for bold styling: Callouts and themed templates help stop the scroll.
- Bad for strict documentation: Heavier effects can push a comparison away from neutrality.
I wouldn't use Picsart when the goal is clinical trust or high-stakes proof. I would use it when the goal is social engagement and fast turnaround. App workflows and features can shift over time, so if you depend on a specific template style, save a reusable version once you've built it.
8. Pixelcut Before and After Collage Generator
Pixelcut Before & After Collage Generator is the most ecommerce-friendly option in this group. If your comparisons involve product cleanup, background improvements, listing upgrades, or packaging refreshes, Pixelcut feels more aligned with the work than a general collage app.
That's partly because the surrounding toolkit matters. Before and after content in ecommerce often starts with image correction, not layout. Remove a distracting background, clean the product image, then show the transformation clearly.
Strongest use case
Pixelcut is the one I'd use for product image glow-ups, marketplace listings, and ad creative where the “after” needs to look commercially usable. The collage builder is straightforward, and the product-focused editing tools around it make the workflow smoother.
The broader market context also supports that direction. AI-powered photo editing tools reached $2.1 billion in 2024 and are projected to reach $8.9 billion by 2034, implying a 15.7% CAGR, while a separate estimate in the same source says the AI product photography market was $450 million in 2024 and could reach $5 billion by 2035 according to AutoPhoto.ai's market roundup. For a before and after photo maker used in selling, that growth tracks with what many teams already feel. The comparison image is no longer just proof. It's part of the merchandising workflow.
Its weakness is that it stays on the static side. If you need embeds or an interactive reveal, you'll need something else.
9. PhotoJoiner Collage Maker
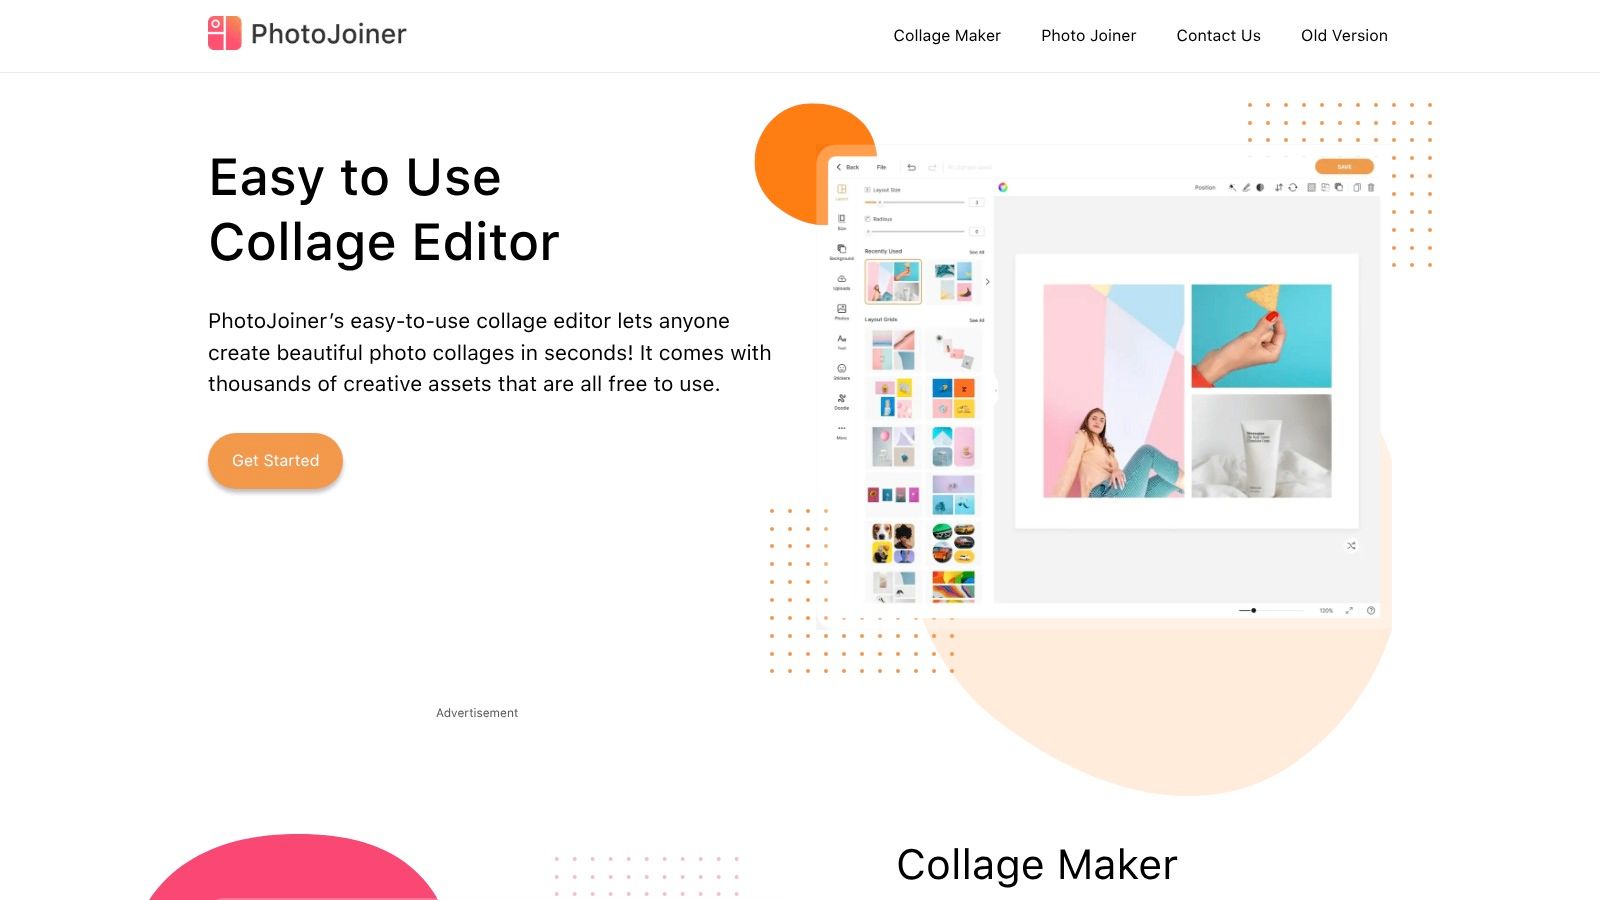
PhotoJoiner is the bare-bones option, and that's not an insult. Sometimes the best before and after photo maker is the one that lets you finish in two minutes and move on.
PhotoJoiner is useful when you don't need branding systems, AI tools, or a complex editor. You need a clean side-by-side or stacked image, some spacing, maybe a border, then a download. For internal drafts, product galleries, quick client approval images, or basic service posts, that's often enough.
Why simple still wins sometimes
A lot of people overbuild before and after visuals. They add too much text, too many shapes, or too much decoration. PhotoJoiner naturally resists that because it doesn't give you many ways to complicate the image.
That simplicity is a strength for three common jobs:
- Proof images for clients: Clear and fast beats fancy.
- Catalog or gallery updates: You can make several comparisons quickly.
- Internal team use: Minimal learning curve means almost anyone can handle it.
Its trade-offs are obvious. There's no interactive mode, the design controls are limited, and ads can get in the way. But for low-friction output, it still earns a spot.
10. ImgSlider
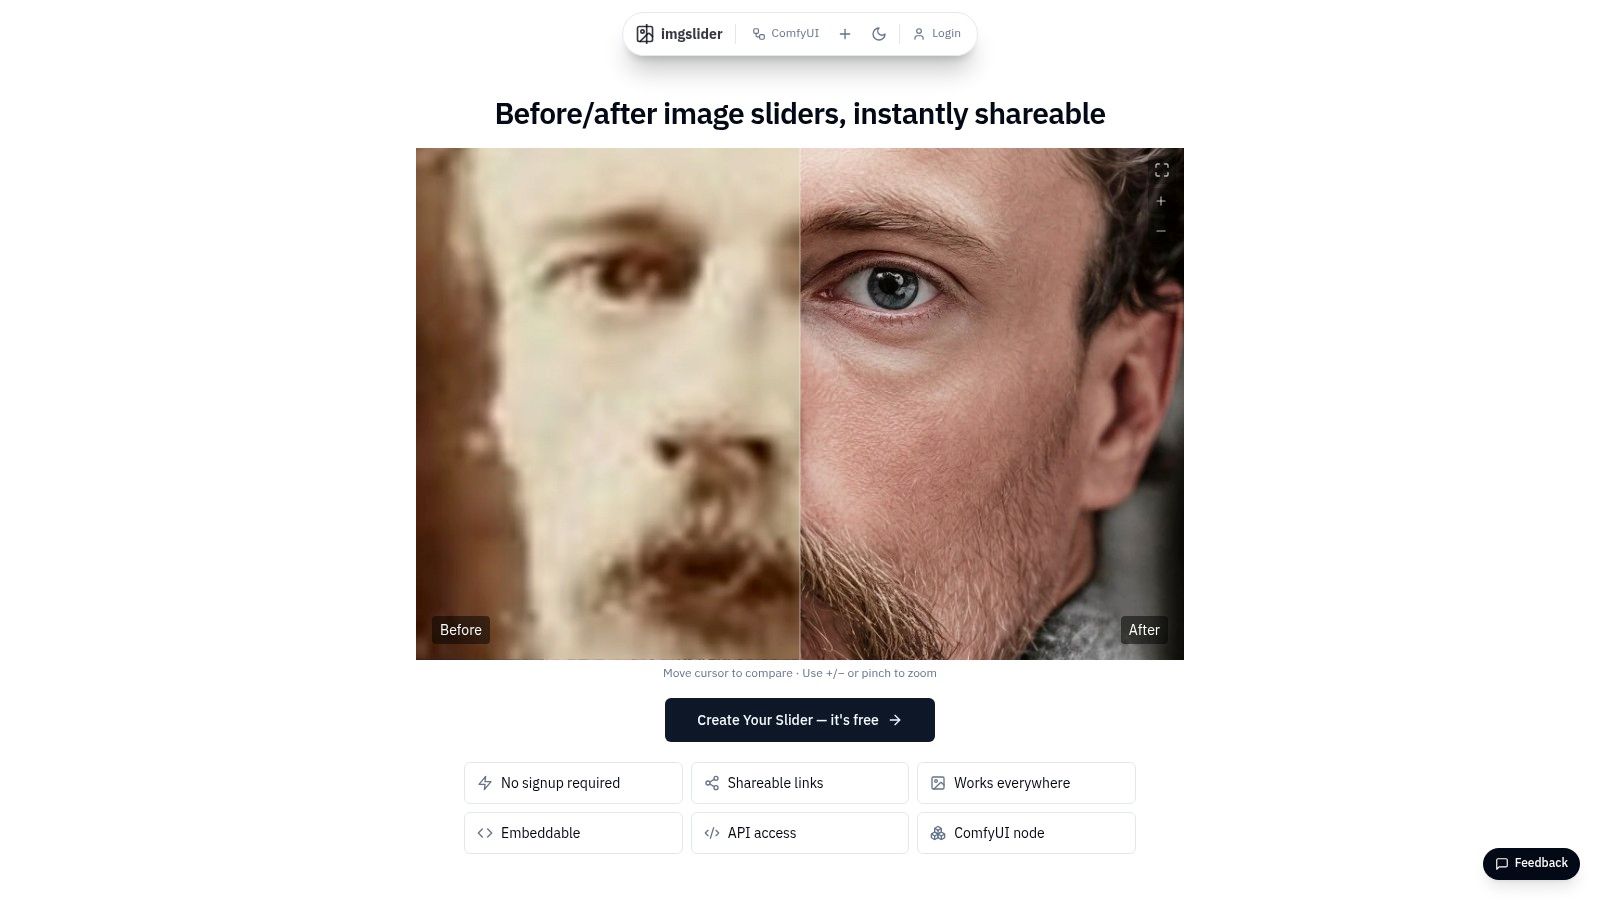
ImgSlider is for one thing only, and that's why it works. Upload two images, create a draggable comparison, then share or embed it. If you already know you want interaction, a purpose-built tool is often better than forcing a design suite to behave like a slider.
This is the better fit when the reveal itself is the content. Think restoration work, retouching demos, room redesigns, landscaping, or product touch-ups where the viewer benefits from controlling the comparison.
Best for web-first reveals
ImgSlider is lighter and more direct than a broad design platform. There's very little setup friction, and that makes it useful for marketers who need a shareable comparison page quickly.
The wider software market points in the same direction. One forecast values the global photo editing software market at USD 2.50 billion in 2026, rising to USD 3.50 billion by 2033 at a 5.0% CAGR, while another projects USD 1.82 billion by 2034 at 4.7% CAGR. The same market view notes cloud-based workflows, AI and ML integration, and mobile editing as adoption drivers, with North America leading in one forecast at 34.2% share and Asia Pacific identified as the fastest-growing region at 25.3% share in Coherent Market Insights coverage. Tools like ImgSlider fit that cloud-first, low-friction direction well.
The limitation is branding. If you need a heavily designed presentation, this isn't it. But for interactive proof, it's effective.
Top 10 Before & After Photo Makers Comparison
| Tool | ✨ Core features | ★ UX / Quality | 💰 Pricing & value | 👥 Target audience | 🏆 Standout for |
|---|---|---|---|---|---|
| Adobe Express | Templates, side-by-side collages, quick social exports, bg removal | ★★★★☆ polished, reliable | 💰 Free tier; Pro assets paid | 👥 Brands & non-designers | 🏆 Fast, reputable social-ready output |
| Canva | Massive collage templates, Brand Kit, one‑click exports | ★★★★★ intuitive, team-friendly | 💰 Free + Pro (Brand Kit) | 👥 Teams, creators, marketers | 🏆 Template ecosystem & repeatable production |
| Kapwing | Remixable Before/After templates, video tools, overlays | ★★★★☆ fast for motion | 💰 Free limited (watermark/limits); paid better | 👥 Social creators making short videos | 🏆 Quick motion comparisons & reels |
| Knight Lab Juxtapose | No-code embeddable slider, responsive reveal | ★★★★☆ clean, lightweight | 💰 💰 Free / open-source | 👥 Journalists, educators, landing pages | 🏆 True interactive draggable slider |
| Fotor Side-by-Side | Two-up layouts, border/spacing controls, editor tools | ★★★☆☆ simple, approachable | 💰 Free basic; Pro for advanced templates | 👥 Casual creators & small businesses | 🏆 Fast static before/after collages |
| BeFunky Collage Maker | Collage layouts, text/accents, social exports | ★★★☆☆ intuitive, quick | 💰 Free + premium assets | 👥 Creators wanting simple branded posts | 🏆 Easy repeatable comparison posts |
| Picsart Templates | Mobile-first templates, stickers, filters | ★★★★☆ mobile-optimized | 💰 Free + in-app purchases / Pro | 👥 Mobile creators & influencers | 🏆 On-the-go editing & community templates |
| Pixelcut – Collage Gen | Focused before/after builder, AI cleanup, social sizes | ★★★★☆ ecommerce-focused | 💰 Freemium; best tools in paid tiers | 👥 E‑commerce sellers, product creators | 🏆 Product glow-up workflows (AI tools) |
| PhotoJoiner | Simple grid layouts, spacing & border controls, quick downloads | ★★★☆☆ minimal & fast | 💰 Free with ads; paid to remove ads | 👥 Users needing basic, no-frills output | 🏆 Rapid two-up exports with low overhead |
| ImgSlider | Draggable slider reveal, share/embed links, lightweight | ★★★★☆ interactive, focused | 💰 Free/basic; embed/hosting recommended | 👥 Creators wanting interactive embeds | 🏆 True interactive shareable before/after |
From Creation to Conversion Using Your Before After Photos
Quick How-To & Export Tips
A visitor opens your page on their phone, glances at one before and after, and makes a trust decision almost immediately. The tool matters less than the fairness of the comparison.
Keep camera height, distance, lighting, and crop as close as possible. If those variables shift too much, the result starts to look manipulated, even when the improvement is real. I run into this constantly with fitness check-ins and beauty results. A harsher light, a different pose, or a tighter crop can bias the comparison and weaken the claim.
Keep each image focused on one point. If the result is about skin texture, do not also change makeup, background, and color treatment. If the result is a kitchen remodel, hold the angle steady enough that cabinets, counters, and floor lines are easy to compare. Viewers trust images that do not make them work to verify what changed.
Export for the actual destination. Static comparisons usually perform best as clean JPG or PNG files for Instagram, email, product pages, and proposals. Interactive sliders need sharper source images, but they also need fast load times. If the page drags on mobile, fewer people interact with the slider long enough to notice the detail.
Test on a phone before publishing.
Showcasing Galleries on Your Bio Links Page
Creating the image is one job. Presenting it well is the part that gets clicks, inquiries, and bookings.
Group your examples by output first. Static before and afters belong in fast-scanning galleries. Sliders belong on pages where a visitor is willing to slow down and inspect the change. That split works well in a link in bio setup because the first tap usually comes from quick visual proof, while the second tap comes from curiosity and closer review.
The gallery structure should match the buying decision. Fitness coaches should sort by goal, such as fat loss, strength, postpartum recovery, or body recomposition. Remodelers should group by room type, style, or budget range. Beauty professionals should separate services like brows, skin, hair, makeup, or injectables so a potential client can find relevant proof without scrolling through unrelated results.
Lead with two or three strong static transformations. Place slider examples underneath for visitors who want more scrutiny before they book or message. That sequence fits how people browse on mobile. They scan first, then inspect.
The Final Word
The right before and after photo maker depends on what you plan to publish and what you want the viewer to do next. Adobe Express and Canva are reliable picks for polished static posts. Kapwing works well for quick edits and light motion. Knight Lab Juxtapose and ImgSlider make more sense when the audience needs to inspect texture, materials, or detail line by line.
Different niches need different proof. A fitness creator usually needs repeatable templates, dates, labels, and clean side-by-side consistency. A remodeler often gets better results from sliders that show layout and material changes in the same frame. A beauty creator may care more about accurate skin tones, fast mobile edits, and close-up crops that still look natural. An ecommerce seller usually needs background cleanup, size presets, and fast exports for storefronts and marketplaces.
Treat every before and after as part of the sales path. It should answer one clear question, lower skepticism, and make the next action obvious. If a visitor likes the result, they should be able to book, inquire, shop, or view similar work without searching around.
If you publish this kind of proof across social platforms, a dedicated link hub helps keep static galleries, slider pages, and offers in one place. For creators in fitness, beauty, home services, or ecommerce, oneurl.link gives you a clean place to send that traffic after the image does its job.